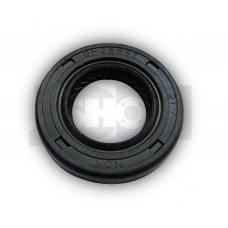


Balance shaft seal Honda OEM 91233-PT0-003
Check part compatibility
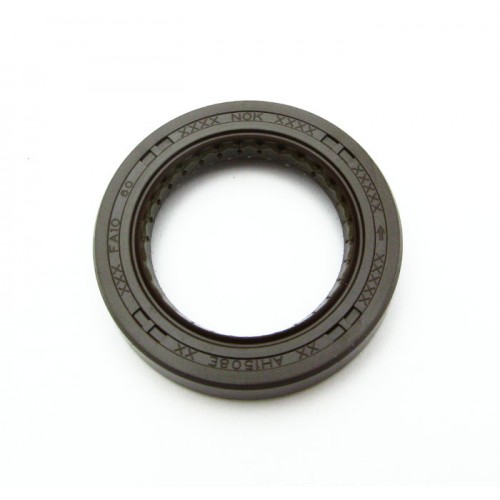
Genuine Honda Balance Shaft Oil Seal 27x40x8 – OEM 91233-PT0-003
Genuine Honda balance shaft oil seal with dimensions 27×40×8 mm, part number 91233-PT0-003. Fits Honda Accord, Prelude and Shuttle models equipped with F-series and H-series four-cylinder engines. This seal prevents oil leaks at the balance shaft exit point on the engine block and is a common service item during bottom-end rebuilds or when oil weeping is spotted around the balance shaft area.
Applications
| Model | Years | Engines |
|---|---|---|
| Honda Accord | 1990–2002 | F-series, H-series |
| Honda Prelude | 1992–2001 | F-series, H-series |
| Honda Shuttle | 1994–2002 | F-series |
Common engine codes include F20A, F22A, F22B, F23A, H22A and H23A. If in doubt whether your specific engine variant uses a balance shaft assembly, verify against your VIN before ordering.
OEM Reference Numbers
Current Honda part number: 91233-PT0-003.
Previous part number (superseded): 91233-PDA-E00. Both numbers refer to the same seal — Honda updated the catalogue reference. If your workshop manual or parts diagram lists either number, this is the correct part.
When to Replace – Symptoms of a Worn Balance Shaft Seal
- Oil weeping or visible wet spots around the balance shaft area on the front of the engine block
- Persistent low-level oil loss with no other obvious leak source
- Oil residue on the underside of the engine near the oil pan-to-block seam
- Hardened, cracked or flattened seal lip discovered during engine disassembly
Balance shaft seals harden over time due to heat cycling and oil exposure. On high-mileage F- and H-series engines this is one of the most common sources of minor oil leaks. Replacing the seal is straightforward once the balance shaft sprocket or belt is removed, so it is worth doing proactively during a timing belt service.
Installation Tips
- Clean the seal bore in the block thoroughly before fitting — any debris or old sealant can prevent the new seal from seating properly.
- Apply a thin film of clean engine oil to the seal lip before installation to prevent dry running on first start.
- Press the seal in squarely using a socket or seal driver that matches the outer diameter (40 mm). Do not tap it in at an angle.
- Inspect the balance shaft journal surface for scoring or grooves. A damaged journal will chew through a new seal quickly.
- If you are doing a timing belt job, replace this seal at the same time — access is already available and the part cost is minimal.
FAQ – Balance Shaft Seal 91233-PT0-003
Should I replace both balance shaft seals at the same time?
Yes. F- and H-series engines with balance shafts typically have two seals. If one is leaking, the other is likely just as old and hardened. Replacing both at once saves labour.
Can I replace this seal without removing the engine?
Yes. The seal is accessible from the front of the engine once the timing belt, balance shaft belt and sprocket are removed. It is commonly done as part of a timing belt service with the engine in the car.
Do I need sealant around the outside of the seal?
Generally no — the seal is designed to press-fit into the bore with an interference fit. If the bore is damaged or slightly oversized, a very thin coat of non-hardening sealant on the outer edge may help, but this is unusual on engines in good condition.